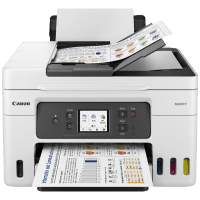
Canon GX4060 User Manual
| PDF manual | 679 pages | English |
Brief Summary:
-
Initial Setup:
- Make sure the printer is powered on.
- On the printer’s touch screen, navigate to the Setup menu by selecting the corresponding icon.
-
Enable Wi-Fi:
- Select LAN settings from the Setup menu.
- Choose Wi-Fi and ensure that it is enabled. If it’s not already enabled, turn it on.
-
Connecting to a Wi-Fi Network:
- In the LAN settings, choose Wireless LAN setup.
- Select Easy wireless connect to begin the Wi-Fi setup process. The printer will now enter standby mode, waiting for the connection from your Mac.
-
Connect Your Mac to the Printer:
- On your Mac, go to the Wi-Fi settings and connect to the wireless network created by the printer (it will be named something like “DIRECT-xx-GX4000series”).
- After connecting to the printer’s network, open System Preferences on your Mac, and navigate to Printers & Scanners.
-
Add the Printer:
- Click on the + button to add a new printer.
- Select the Canon MAXIFY GX4000 series from the list of available printers.
- Make sure to select the printer with “AirPrint” or “Canon” as the type.
- Follow any additional on-screen instructions to complete the setup.
-
Test the Connection:
- Try printing a test page to ensure that your Mac and the printer are properly connected over Wi-Fi.